This article is by G. Patrick McCreary. He was my TD at Bennington over 30 years ago. Patrick wrote this while TD at Indiana University of PA in 2013. It has been my experience over the past 25 years or so that “DURON”, a product of The Masonite Corporation, makes an excellent surface for working stage floors. Here at Indiana University of PA, we use a Duron surface for our main venue, and use the same material on most of our stage decks, usually on top of a layer of ½” Homasote. Duron, however, is no longer available as a product name – the best you can do is ask for 1/4” double-tempered hardboard. I would want to see a sample before I placed my order
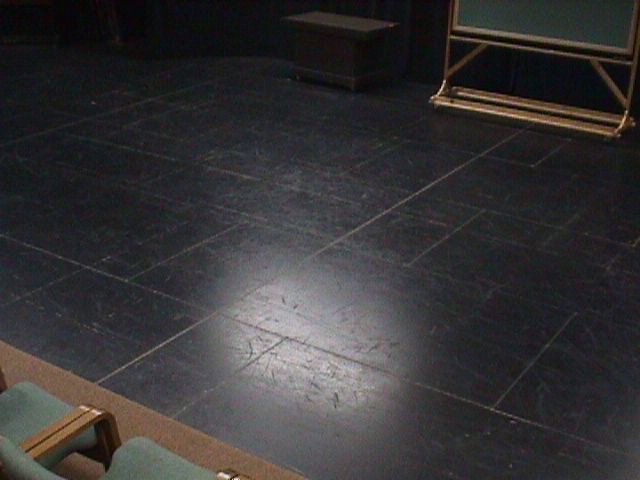
Our Mainspace floor, roughly 50′ X 75′, is heavily built on, often re-configured, and abused at least four times a year – we replaced the entire top layer three years ago, after 11 years.

The floor of the Mainspace Theater at Indiana University of PA, before being repainted, after strike.

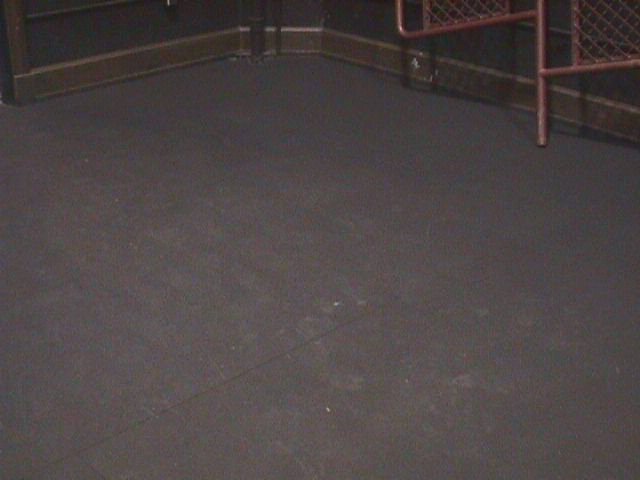
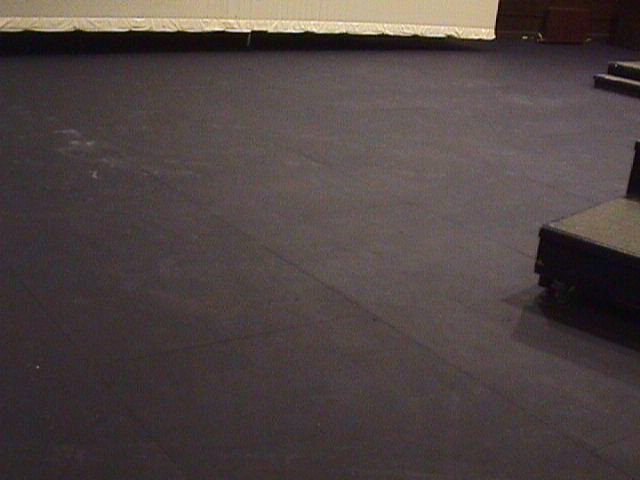
Our Studio floor, heavily trafficked, but rarely built on, was installed three years ago over 3/4″ tongue-and-groove underlayment on 2 X 4 sleepers, and pictures of it are also attached.

The floor of our Studio Theater, end of semester, before fresh paint; the satin patina is a result of the extremely heavy daily foot traffic – several classes a day for two academic years. Below is what I specify for floors that are going to be “worked”, meaning they will have numerous sets built on to them, and need a sacrificial top layer that is inexpensive, flat, and durable.
INSTRUCTIONS FOR THE INSTALLATION OF DURON (TM) AS A FLOOR SURFACE FOR THEATER STAGES.
1. The surface material discussed in this document is Masonite Corporation’s Tempered “Duron” hardboard product; the use of any other substitute material makes this recommendation null and void. I generally use “quarter-inch”, which Masonite designates as “22-S”, with a stated thickness of .205″. Duron, however, is no longer available as a product name – the best you can do is ask for 1/4” double-tempered hardboard. I would want to see a sample before I placed my order.
2. The sub floor can be of any common substantial construction; typically, the finish surface is laid over at least one layer of 23/32″ APA rated Underlayment, but sub floors having similar characteristics that meet current codes for load rating and flatness are certainly acceptable; the finish layer described here has no bearing on the floor load rating, except that it adds a little to the dead load.
3. A single layer of 15# (15 lb.) impregnated felt building paper should be laid, with no significant attachments (stapling to maintain position and neatness would be a good idea, but not entirely necessary) to provide some cushioning for footfalls on the Duron. (I have used 30# paper, but there seems to be no real advantage to the extra thickness.)
4. The Duron should be left in the area where it is to be installed for a couple of days to become acclimated to the environment, especially if the area is air-conditioned.
5. The Duron should be painted on BOTH sides with two coats of a good Latex Exterior house paint. I use Sherwin-Williams A-100 flat black, with the first coat thinned with one part water to four parts paint, the second coat not thinned at all.
Lay the sheets out with a little walk space between them and apply the first coat; they will usually warp considerably, but that is not a concern. The first coat can go on the second side after the first side is dry, but not necessarily cured. Leave the sheets to dry thoroughly, preferably over night. Then do the same with the second coat. IT IS IMPERATIVE THAT BOTH SIDES BE PAINTED EQUALLY WELL. If the sheets are still significantly warped, give them a day or two to flatten – they will NOT flatten completely – not an issue.
6. After the second coat on the second side has thoroughly dried, the sheets may be laid out and fastened to the floor. I lay rows across the stage, with 1/16″ – 3/32″ minimum spacing on all four sides – a dime or a penny works very well, and a quarter or nickel is a bit much, but won’t hurt anything – just be more visible. Rows are offset like a standard brick pattern, with each subsequent row four feet to the left or right of the current one.
7. Nailing pattern – DO NOT OVER-NAIL – I use 6-penny Cement-Coated Sinkers in the following pattern:
A. One nail in each corner of a sheet, 1″ – 1.5″ in from the sides of the corner.
B. One nail at the center of each long side, 1″ – 1.5″ in from the edge.
C. One nail at the center of each 4′ X 4′ half of the sheet.
( I use a cut-off nail in one of the cordless drivers as a pilot bit – inserted into the chuck so that it clears the thickness of the Duron by about 1/16″ – 1/8″.)
(I know this sounds totally inadequate, but it isn’t – all you are really trying to do is keep the sheets from sliding on the floor; gravity is a wonderful thing – the weight of the sheets and the traffic on them, IF they are properly prepared, should hold them down just fine , except at their corners.)
D. After several days, preferably long enough for a significant weather change (rainstorm, etc. – not season); any of the few spots that are not flat may be nailed down; use a minimal number of nails (ONE) at the center of each high spot. Depending on the building and weather conditions, this may have to be done one or two additional times.


Recent Comments