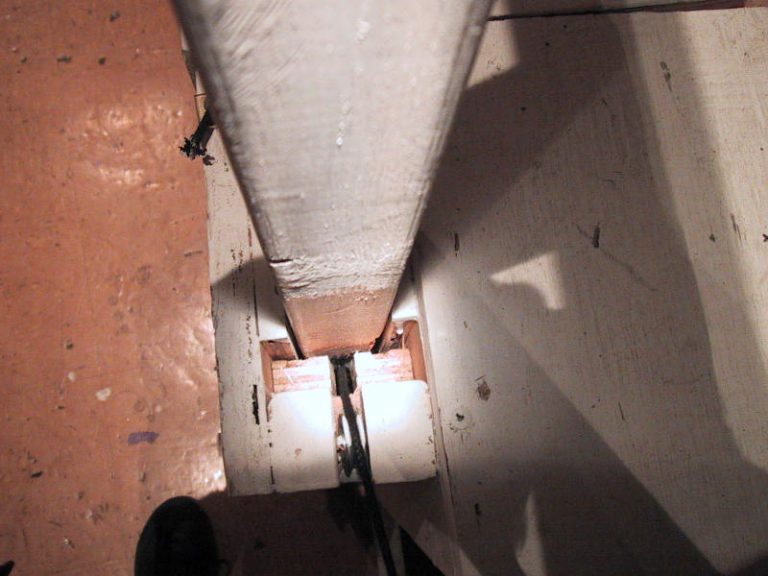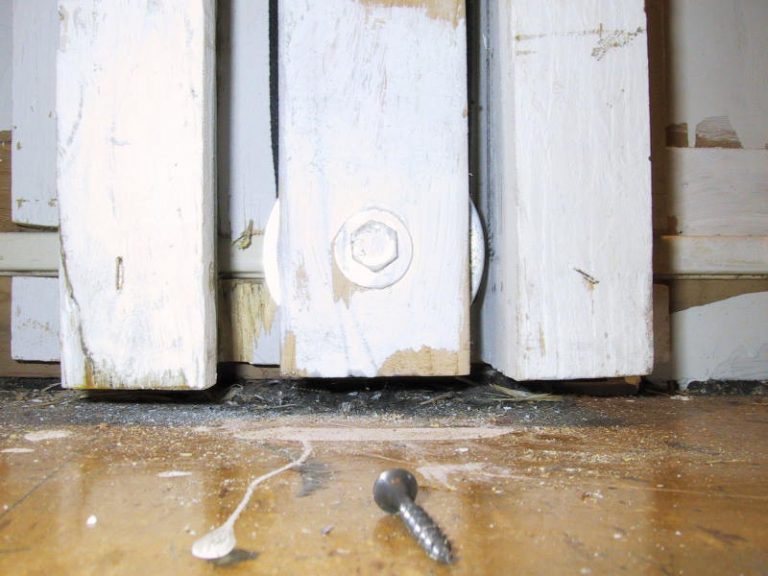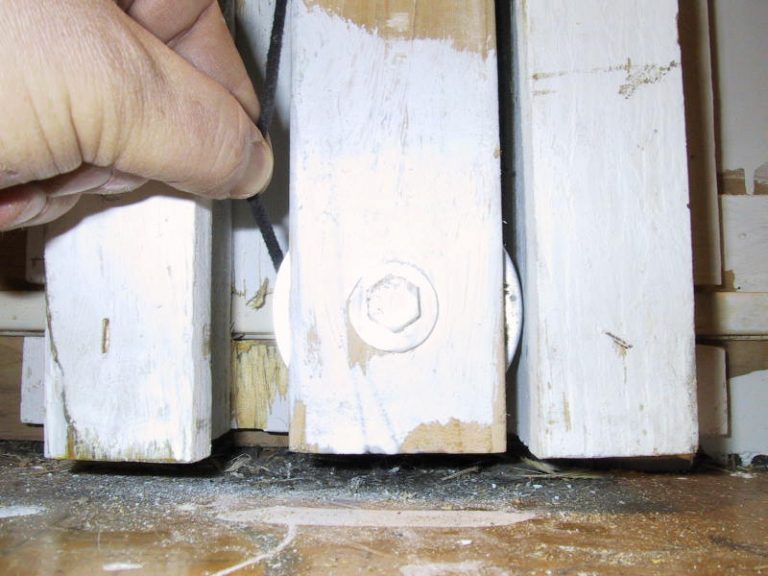


Several “cases” were screwed to the edge of the stage. Inserted into each was the railing post. The railing itself is made up of seperate 2×3’s screwed down to the top of the posts. The first attempt to attach the rails were too stiff. This proved problematic. So, we changed the fastener to a simple screw. Take a look at the photo on the right. You’ll see a crew member pulling on the strings. For the show, the stagehand was behind the curtain.
We had to try a couple of different methods to pull the railing up.
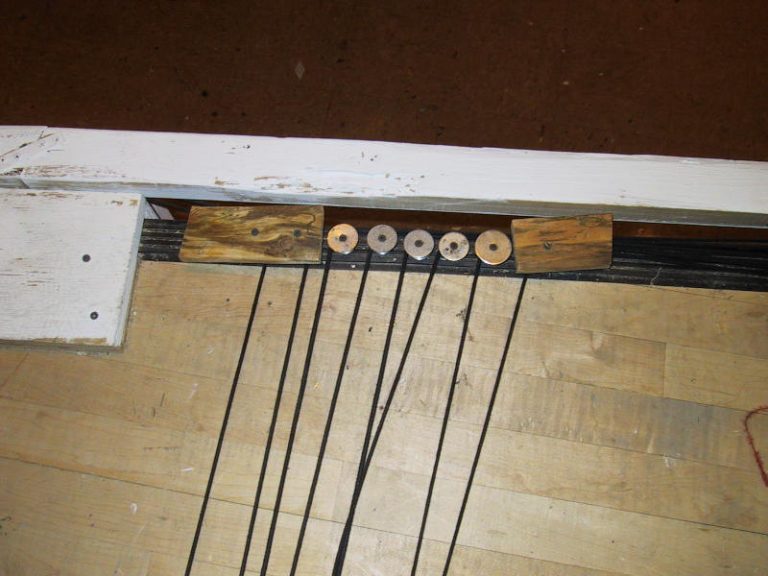
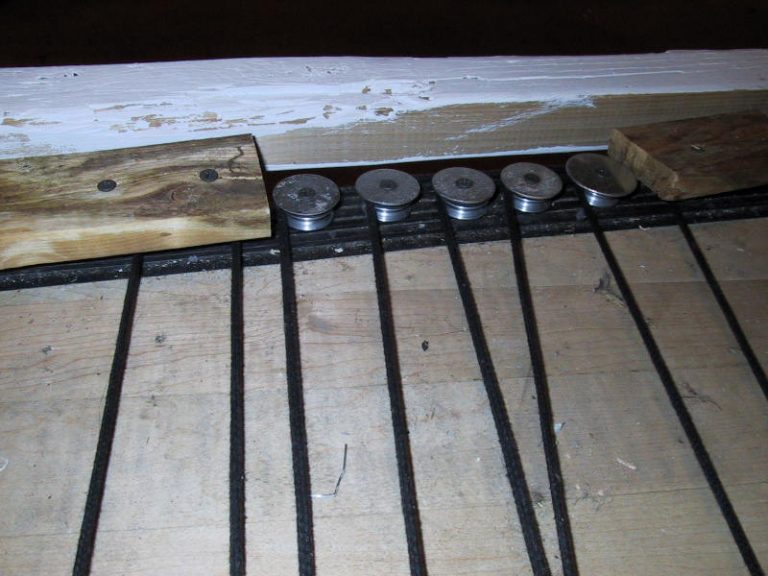
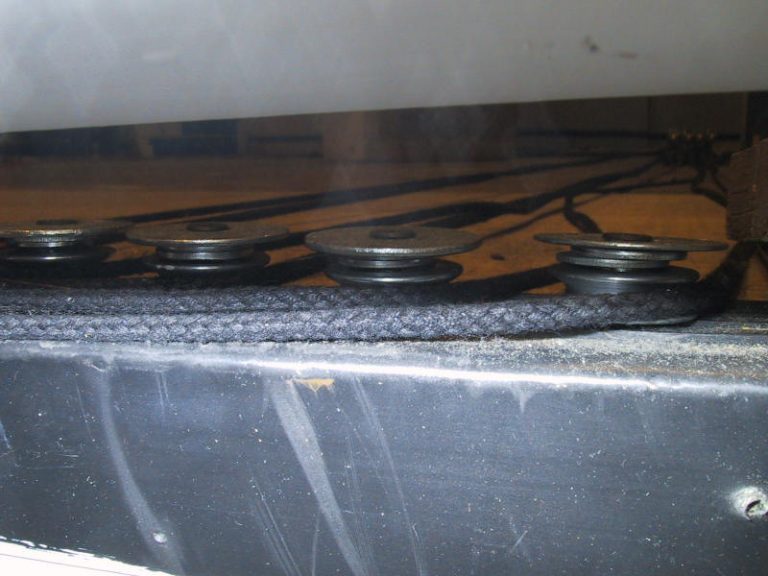
We first tried using 1/8″ AC Cable. This didn’t work as we wished. (we also ran a little short.) So, we switched to black tie line. This proved to work very well. Tie line does stretch and we were able to adjust the lines as needed.
The outer pulleys are covered. Why? The tie line kept slipping off. The plywood locked the tie line in place.
These pulleys are screwed into the floor with 1 1/2″ drywall screws. Using these small pulleys allowed us to direct the tie line in any direction needed.
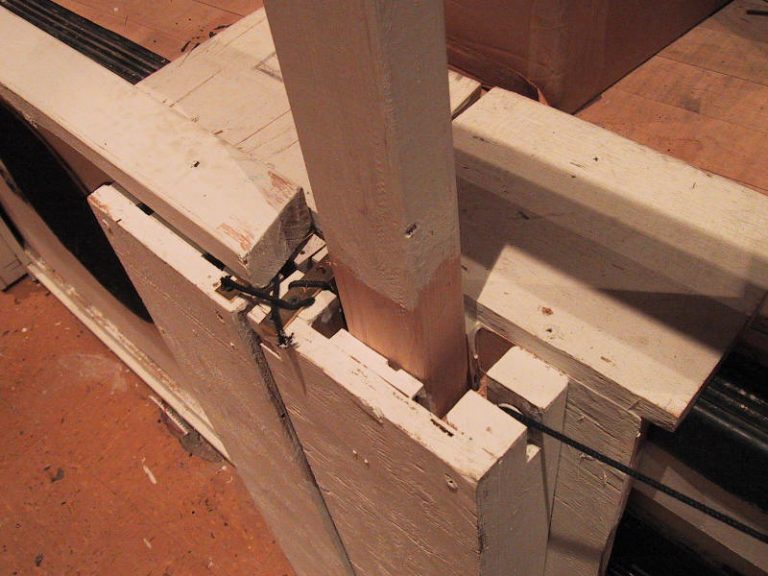
Take a close look at the middle photo. You’ll see that the tie line changes direction. First passing through the horizontal pulleys, then down over the vertical one.
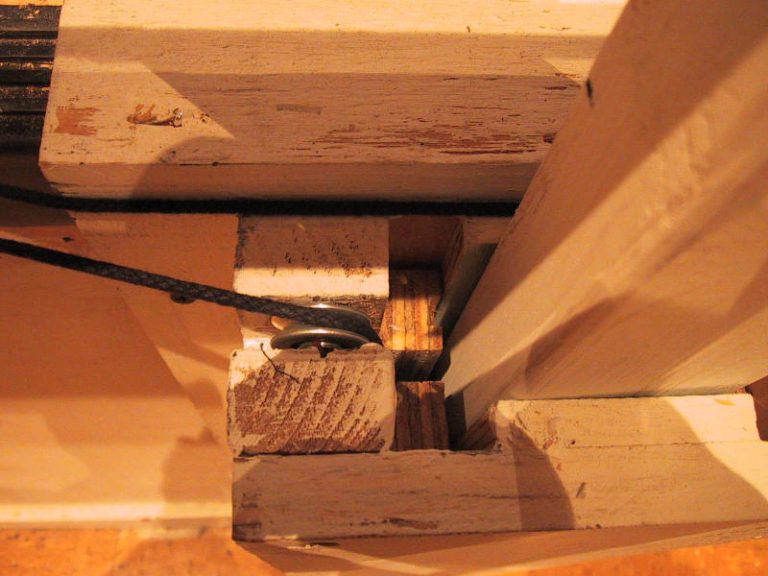
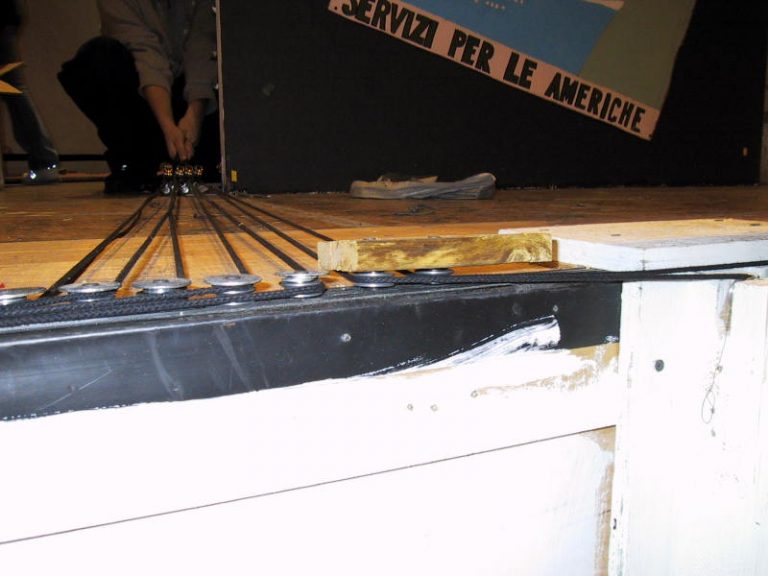
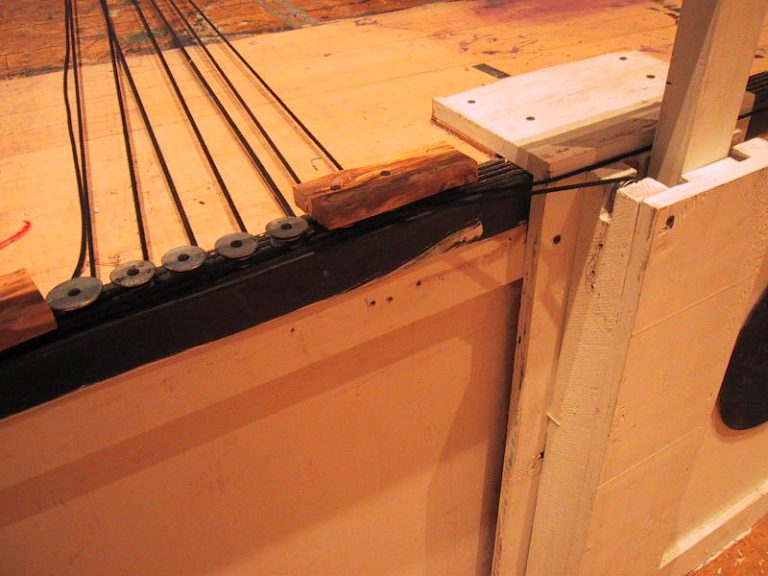
The case is larger then the posts to allow the tie line to travel. Small spacers are placed to guide the post up & down in a straight line.
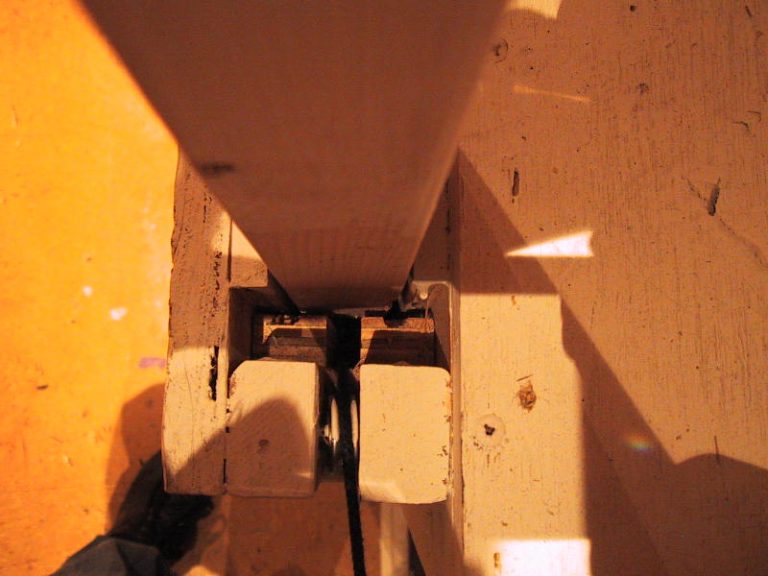
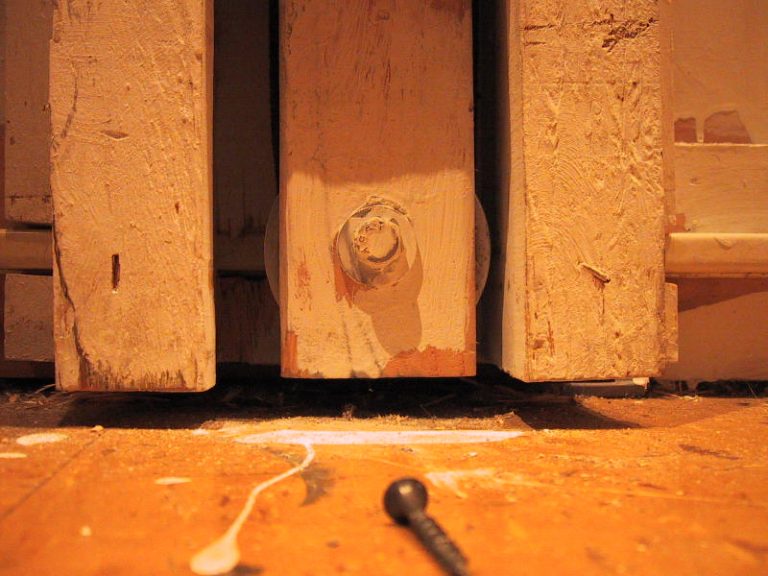
We had to maintain constant tension on the line. If not, the line would fall off anyone of the pulleys. That was a pain!
